
Before committing the crew
Review the component list, panel references, current details and delivery sequence. Confirm that the local team understands the kit and identify any training or start-up support to discuss.

For contractors & assembly teams
Bring a prepared Ready-to-Assemble SIP Building Kit into your construction programme. Quacent supplies the project-specific components and agreed documentation; your team connects the delivery, assembly sequence and following trades into a workable site plan.
Check the quotation against your own work package. The supplied panel applications, connections, sealing materials and documentation must be identified together. Do not assume transport, lifting equipment or attendance on site is included.
The practical difference from ordering loose panels is the relationship between the parts and the building. Panel marks, opening positions and connection references belong to a particular layout. Read the component list alongside that layout to see how the kit forms the walls, roof and other applications included in the order.
Before pricing your assembly work, identify the materials supplied separately and the stages at which they are needed. Sealing products, temporary protection and adjoining construction need to fit the sequence even when another party procures them. This keeps your labour allowance connected to the actual work package.

Review delivery access and unloading space alongside the foundation and assembly programme. A panel kit still needs protected storage, suitable handling equipment and coordinated temporary works.
Think through the route from the delivery vehicle to the place where each group of components will be used. A convenient unloading area is not always a practical assembly storage area. Relate the packing information to the building zones, keep references visible and discuss restricted access before the shipment is arranged.
Coordinate the handover from the foundation contractor with the first SIP operations. The responsible parties need the same setting-out information and current details. Record unresolved base or support questions before the crew starts positioning components, rather than treating them as adjustments to make during installation.
Confirm the drawing revision, delivery address, receiving contact, access restrictions and unloading responsibilities.
Check foundation dimensions and levels, support conditions, lifting arrangements, weather protection and the documents your team will use.
Arrange the required inspections and records. Coordinate services and linings so that connections and sealing can be checked at the right stage.
Use panel identification, layout drawings and connection details together. Confirm the assembly sequence and temporary stability with the responsible team. Resolve discrepancies before altering a structural panel.
Keep one current drawing set available to the supervisor and the installers. When a question arises, refer to the panel ID, its position on the layout and the connection detail. A photograph is most useful when the recipient can also identify the location and the revision being followed.
Plan inspections with the following trades. Connections, seals and penetrations may become inaccessible after linings or finishes are installed. The assembly programme should leave room for the checks required by the project team before the next work package closes the construction.
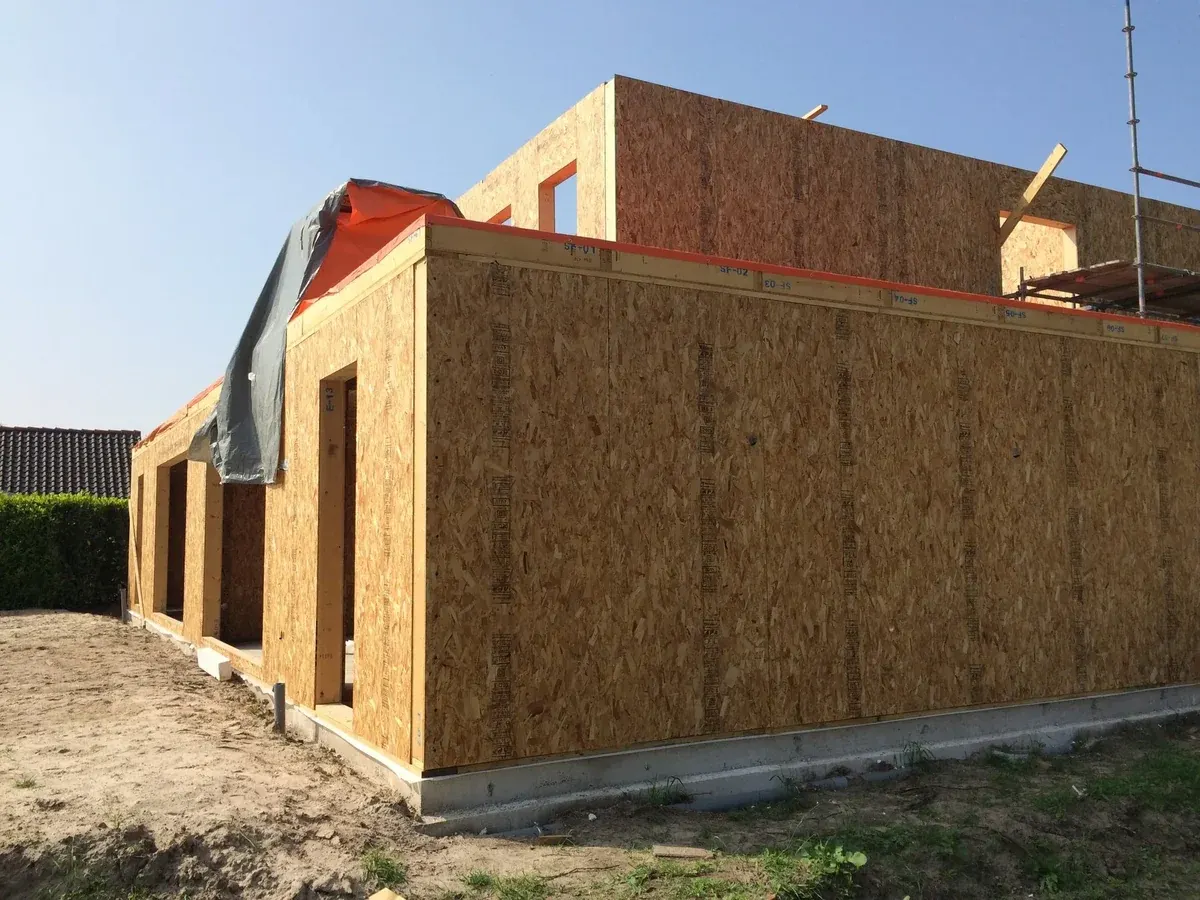
A short time-lapse shows the building progressing as the site team works. View it alongside the panel layout and the agreed assembly sequence.
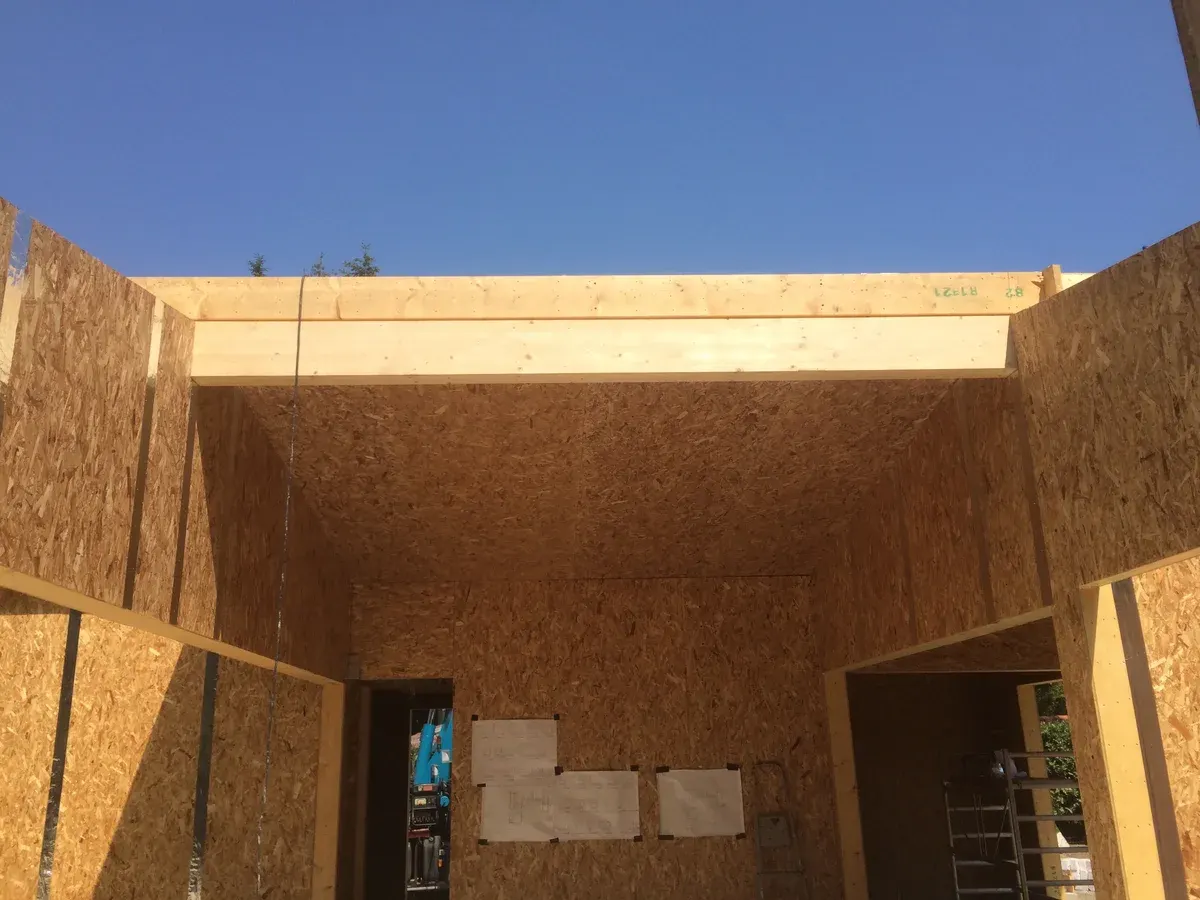
Discuss the team’s experience before setting the delivery date. Remote technical discussion, start-up attendance or additional assembly assistance can be agreed. Confirm who attends, for how long and what they are responsible for.
An initial project discussion can focus on the first working sequence: receiving the components, identifying the first elements and understanding the drawing references. An experienced SIP team may instead need a review of an unfamiliar roof, connection or delivery arrangement. Describe the practical question so the support can be scoped around it.
Use the delivered project examples to discuss the type of kit involved, not to set a universal installation rate. Your own programme depends on the building geometry, the agreed method and the conditions your team will manage on site.
Use the initial discussion to identify unfamiliar connections, handling questions and the documents needed for preparation.
Focus on the project-specific geometry, interfaces, revisions and delivery sequence. Prior experience does not replace the current project instructions.